When you receive a ticket from a customer, there may be a number of tasks that need to be completed before the ticket can be resolved, or a reply sent to the customer.
With Sirportly, you can attach a checklist to a ticket with as many steps as are required before completion, but with the added bonus of being able to attach multiple "actions" to a given task when it's completed and marked in the checklist.
In this post, we'll be building an example checklist and configuring some handy actions that will automatically run and save a lot of time when having to complete the tasks. We'll use a simple example of a new order notification, where we need to check the order, ensure it is picked and shipped, then notify the customer when it's completed.
Building a Checklist
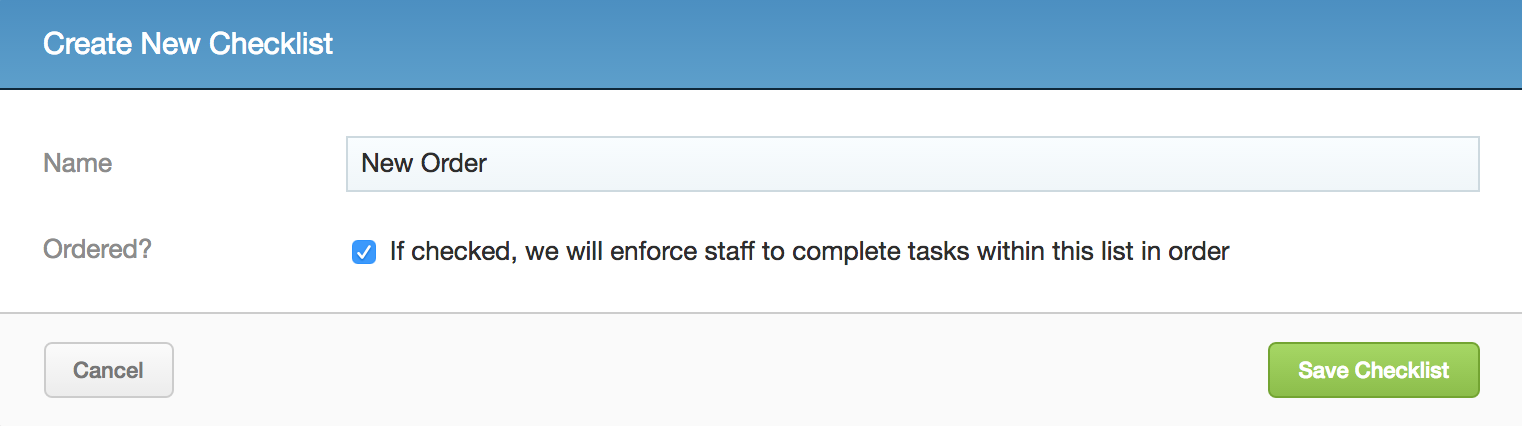
First, we'll need to head to Admin -> Ticket Settings -> Checklists in Siportly, then click Add New Checklist. Next we'll give the new checklist a description name and keep the Ordered? option checked to ensure staff members must mark tasks as complete in the checklist in the correct order. Finally, we'll click Save Checklist to finish.
Now we'll be prompted to add some items to our checklist. Next we click the Add New Checklist Item to start, then add a Title and some Explanatory Text for the item. We want to add some actions to our first item, so we'll click the Add Actions button.

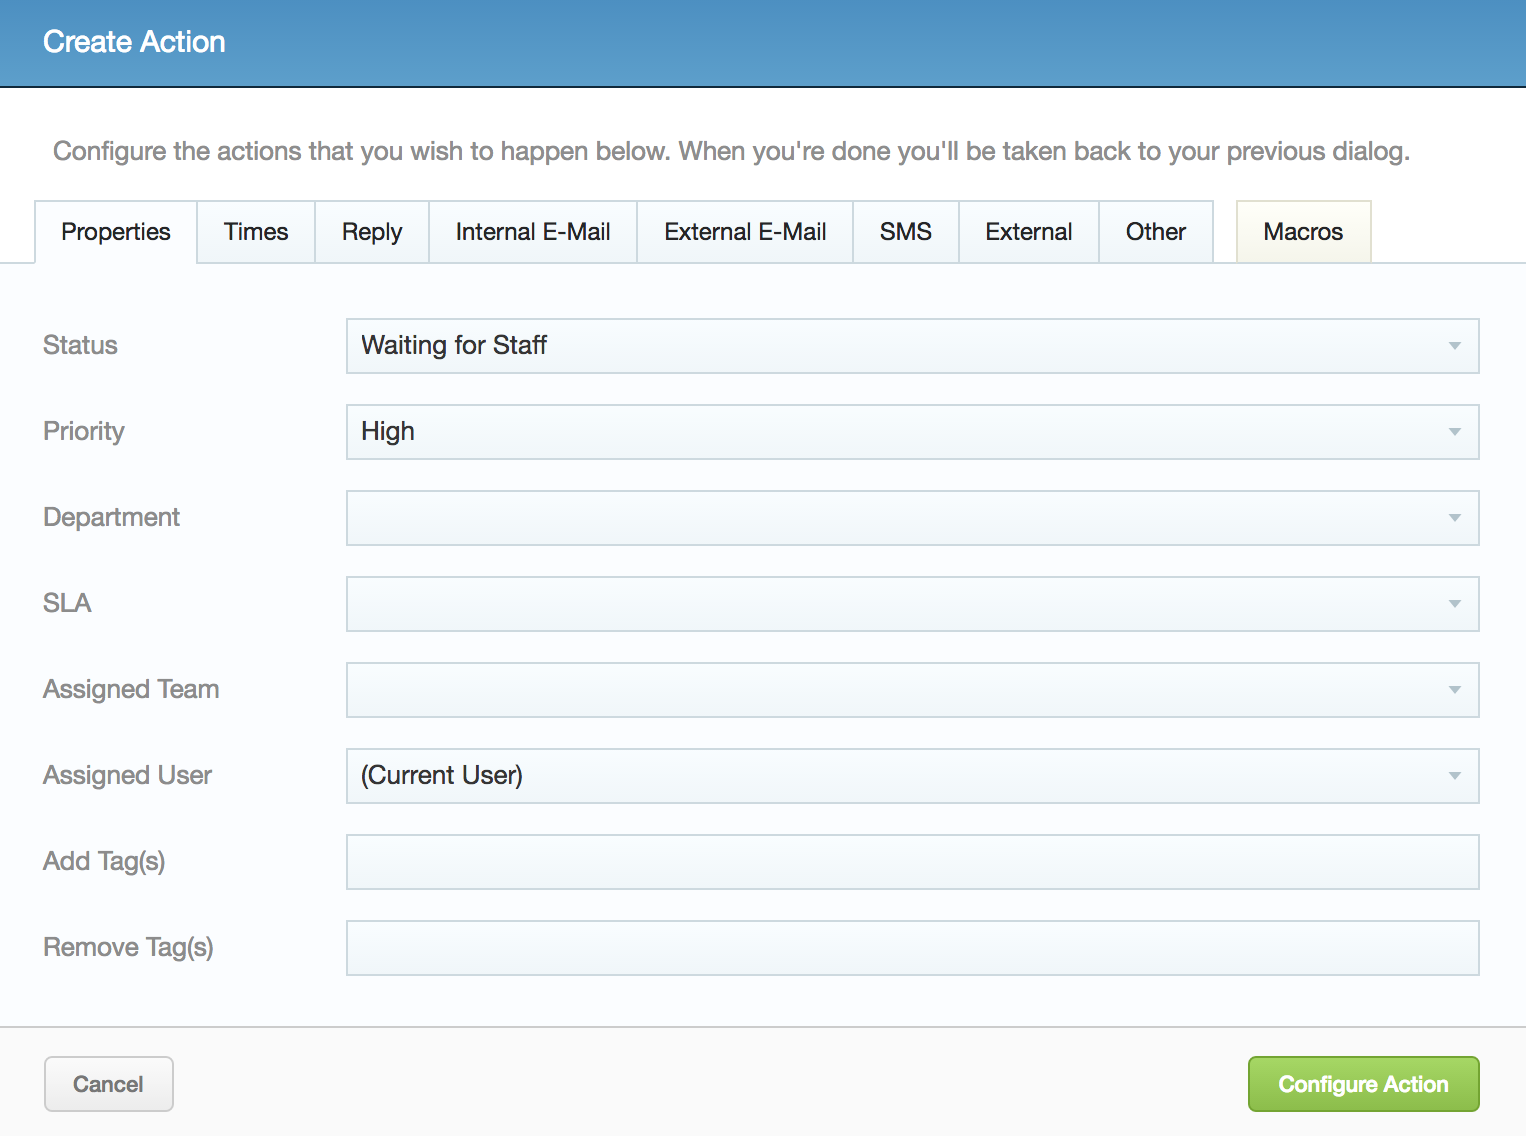
Here we'll add a number of handy actions to change some ticket properties; changing status to Waiting for Staff, setting the priority to High and assigning the user to us. Finally, we just need to click Configure action, then Save Item to finish adding it.
We'll add a couple more items, using the same process as above, another with no actions to mark the order as processed, then one more to mark the order as shipped, which will send a pre-configured email to our customer with the shipping number included, then resolve the ticket.

Assigning the checklist
Now that we've created the checklist, we need to be able to assign it to a ticket only where it's appropriate to do so, as not all tickets will necessarily require one.
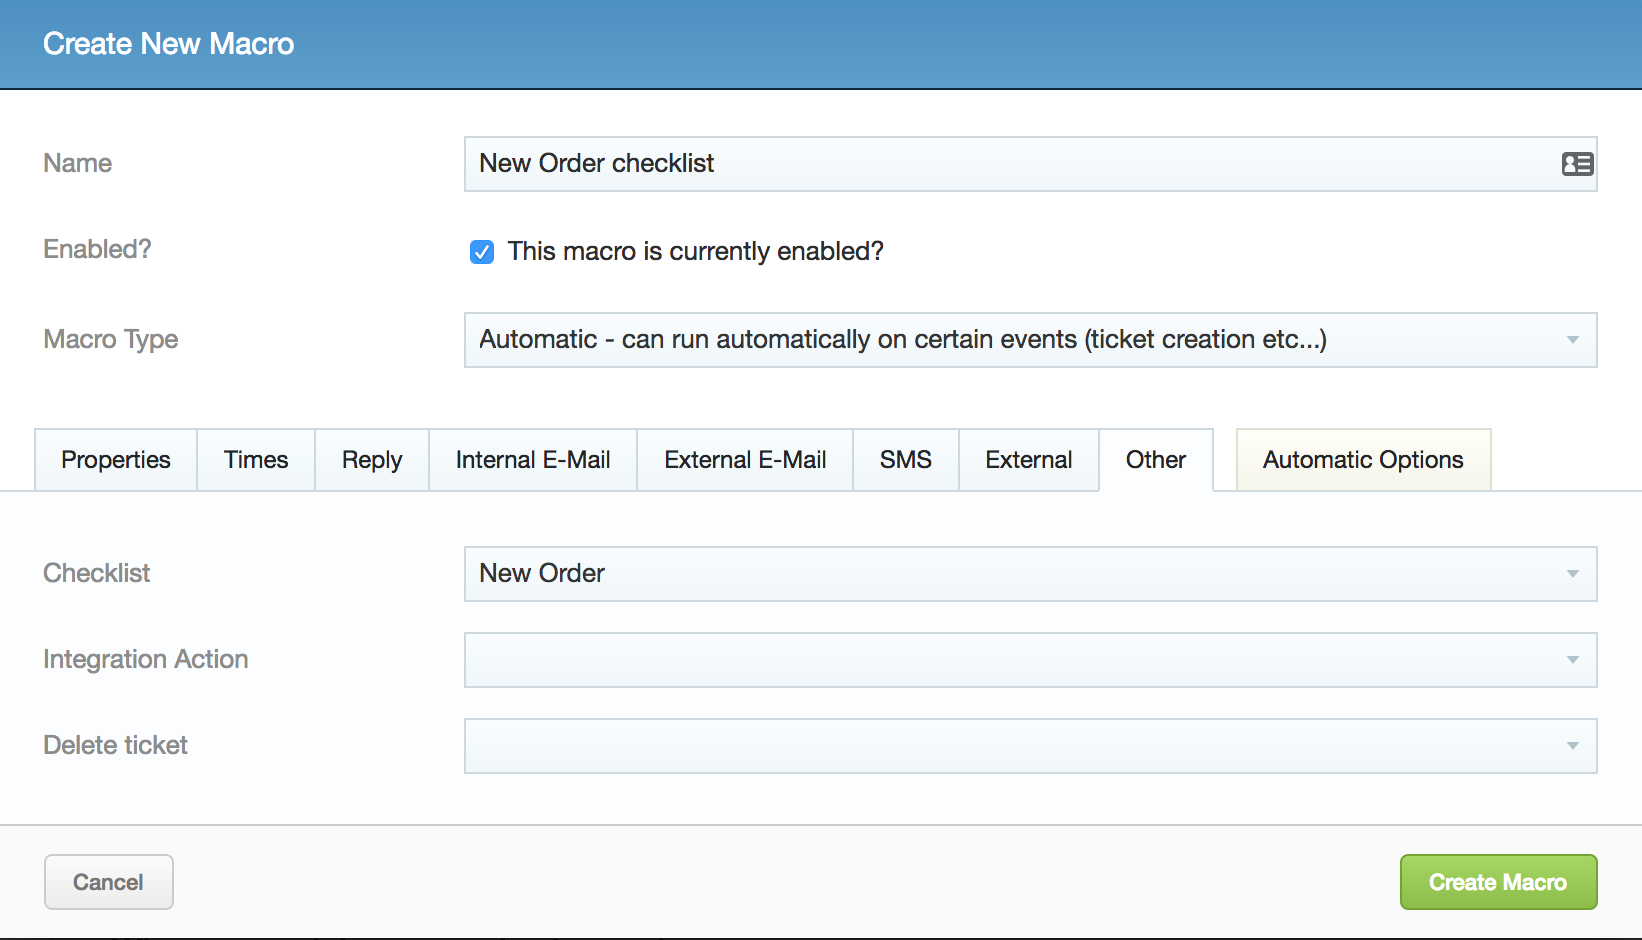
The two primary methods of adding a checklist are with a Macro button, or an Automatic Macro. In this instance, we'll head to Admin -> Workflow -> Macros, then click to Add New Macro under the Automatic tab. We only need to configure two things for this macro, firstly to assign the checklist under the Other tab:
Then within the Automatic Options tab, we'll set a simple condition to check that the incoming address is our orders address.
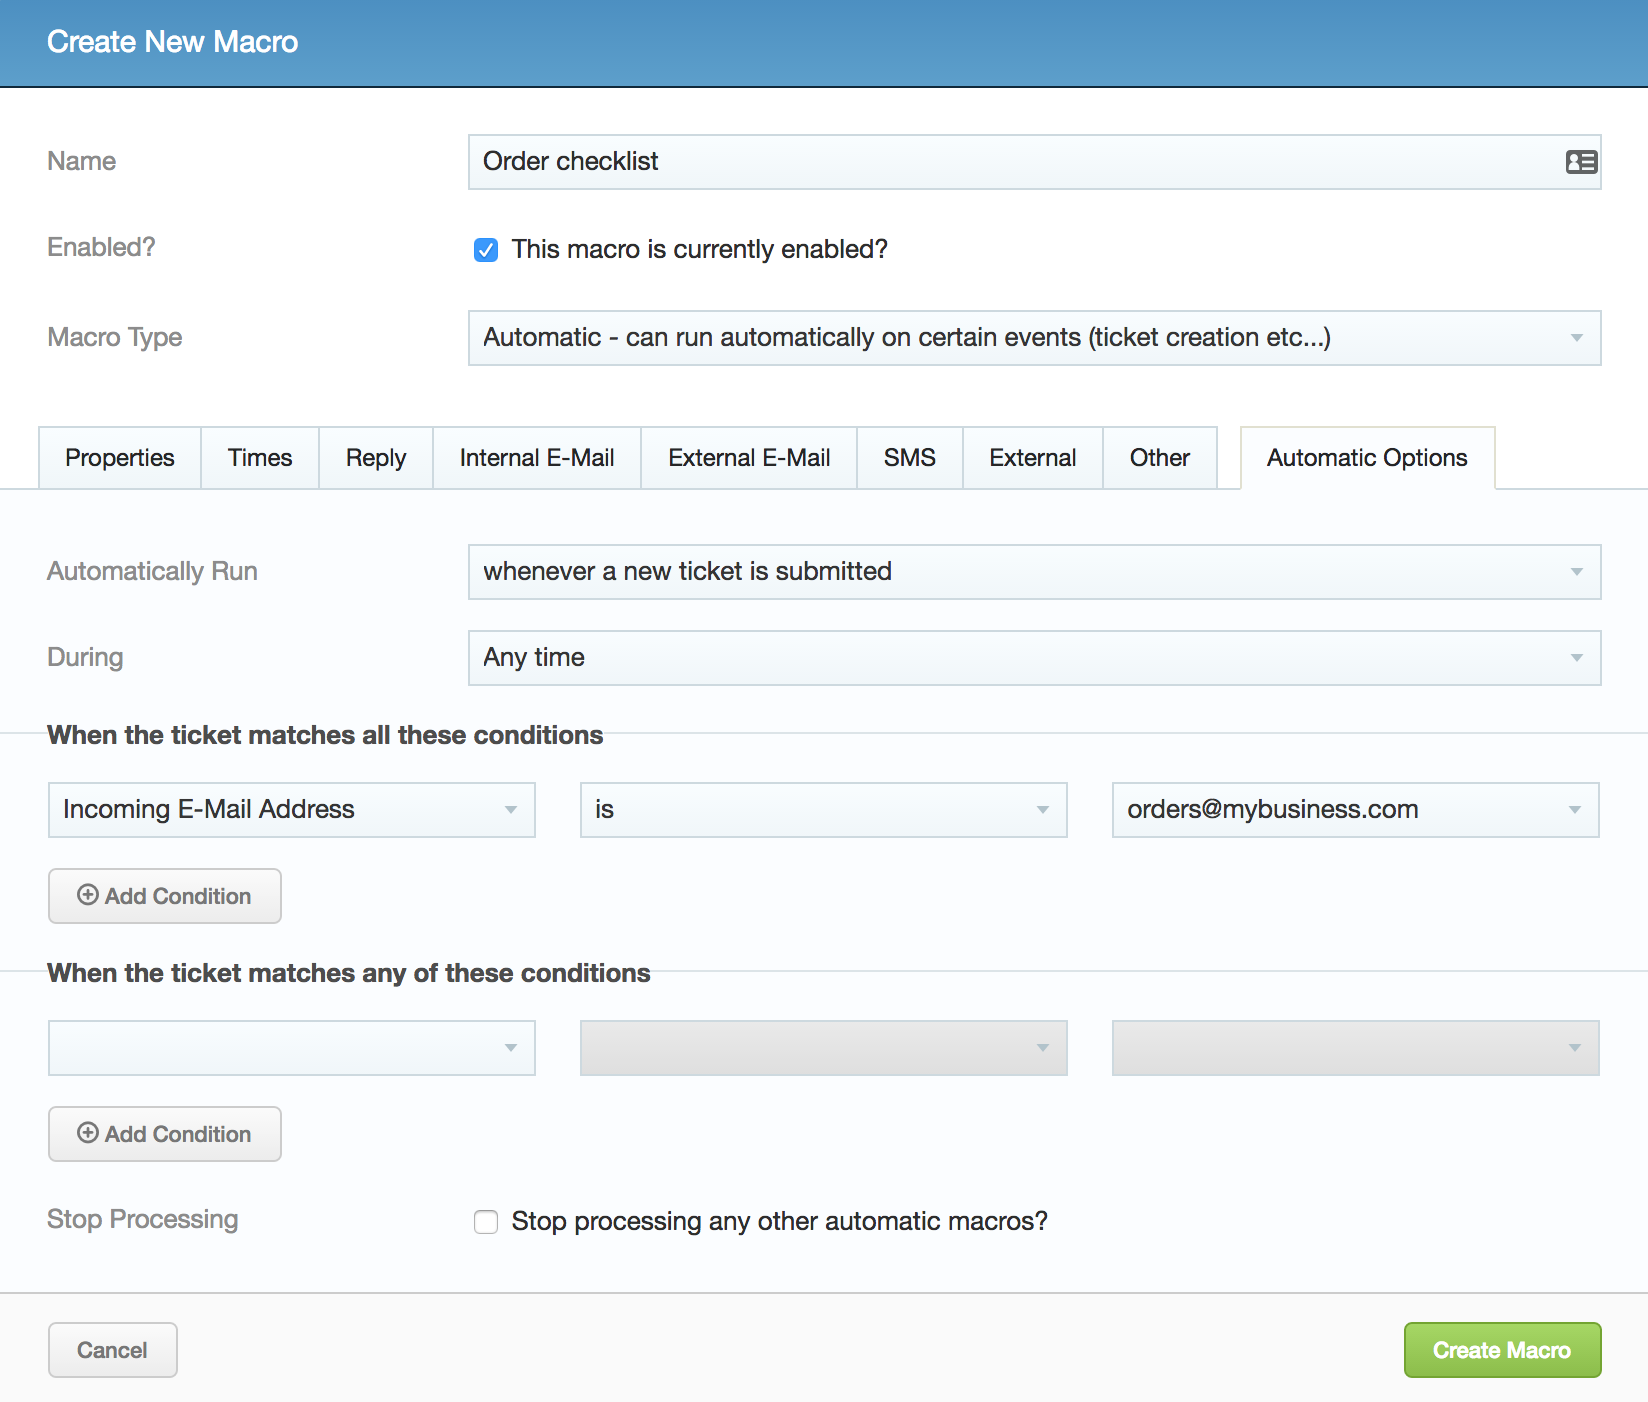
Now any newly submitted tickets from our orders address will automatically assign the checklist.
Further Reading
We hope you've found this post useful, further to the assigned actions for our checklist items we'd recommend looking at our documentation for ticket variables and custom fields which are very useful for adding custom data such as a shipping reference to a ticket and including it in an email response.
Do get in touch with us if you have any questions.