

You may wish to use Mercurial via a command line interface, or via a UI. In this guide, we will be looking at installing a Mercurial UI client, so we can checkin and commit from Windows straight to our Codebase account.
Installing Mercurial
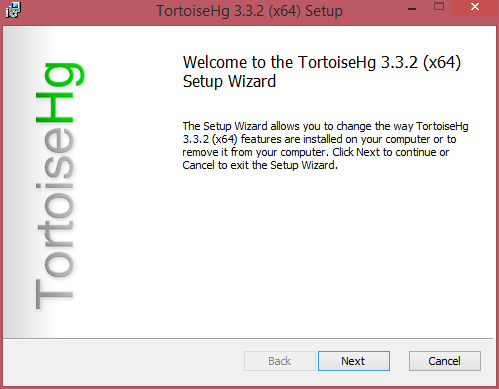
We will be using TortoiseHg in this instance, which is a nice all in one client. Firstly, we need to visit the main downloads page, and choose the appropriate 32 or 64 bit release, found at the top of the page. Run the installer, and ignore the message for restarting the PC once it has finished; this is not necessary.
Setting up User Details
Now that we have installed TortoiseHg, we need to be able to identify ourselves, so that when we commit and push to the repository, anyone else in our team knows who is responsible for any code changes.
To do this, we need to go to our Workbench. We will find this under Start -> All Programs -> TortoiseHg -> TortoiseHg Workbench.
Once we have the workbench open, click File -> Settings:
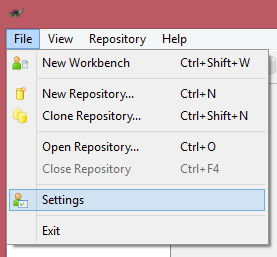
Then under the Commit section enter our Codebase username as below, and press OK to save changes.

Once this is done, we can close the workbench.
Creating our First Project and Repository
Now that Mercurial knows who we are, we can create our first project. Firstly, we will create a folder for our project, let's call it mercurial_test, and put it into the root of c: drive.
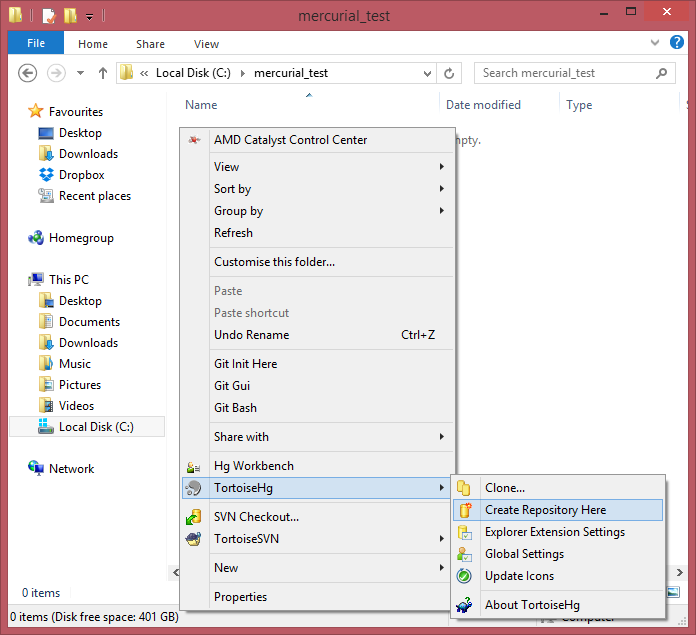
Next, navigate into the folder, right click, and select TortoiseHg -> Create Repository Here:
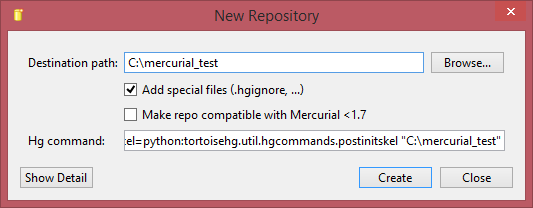
Then click Create:
Adding the Remote Repository
The workbench will pop up on the screen, this time showing us our repository in an empty state. So next we need to add our remote repository from Codebase, so we can push our commits. We can find the repository path in the main Codebase repository page on the top right hand side:

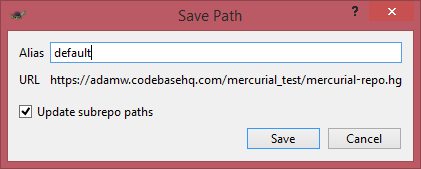
We can just copy and paste that straight into the Sync widget in the centre of the Workbench, and click the floppy disk icon to save the path:

Then just leave default as the Alias and click Save.
Pushing your First Commits
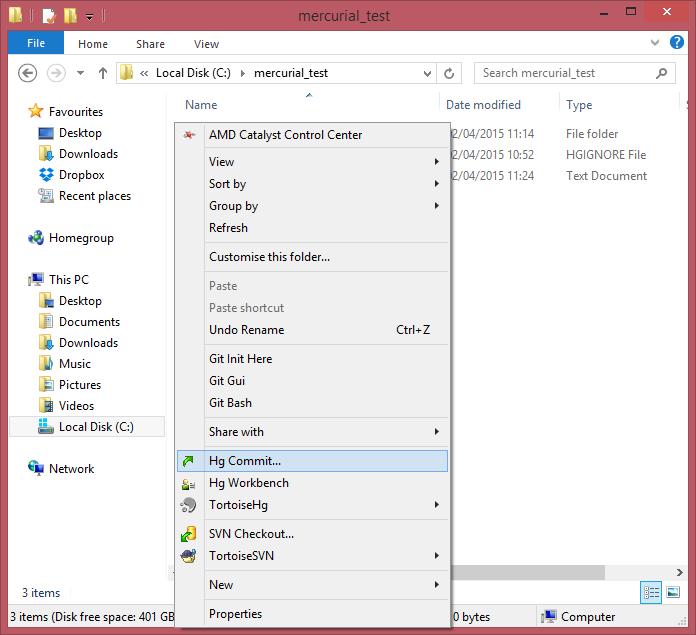
Now we are done setting things up, we can close down the Workbench, and go back to our repository folder. Let's create a file, and make our first commit. We will just create a simple text file, test.txt, and right click and select Hg Commit, which automatically appears when changes are detected inside the repository:
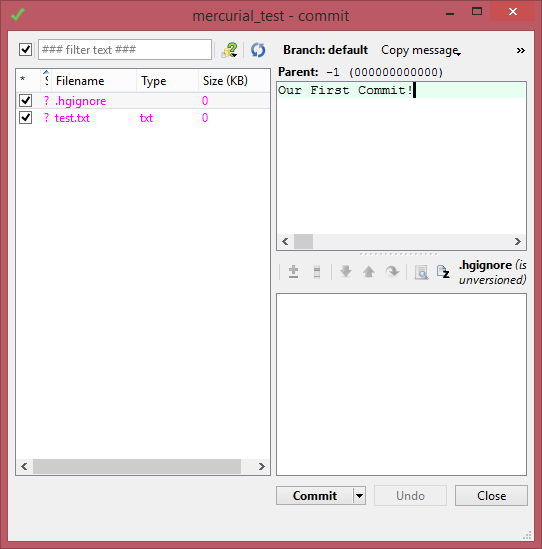
In the commit window, we will confirm our changes by selecting them on the left and side, type our commit message in the right hand window, and click Commit.
Once this is done, we can close the commit window, and again right click inside the repository folder, and this time select TortoiseHg -> Syncronise. This will bring up a window showing our last commit, as well as the sync widget for pushing our changes to the remote repository. From here we will click on the icon, shown below to push our changes:
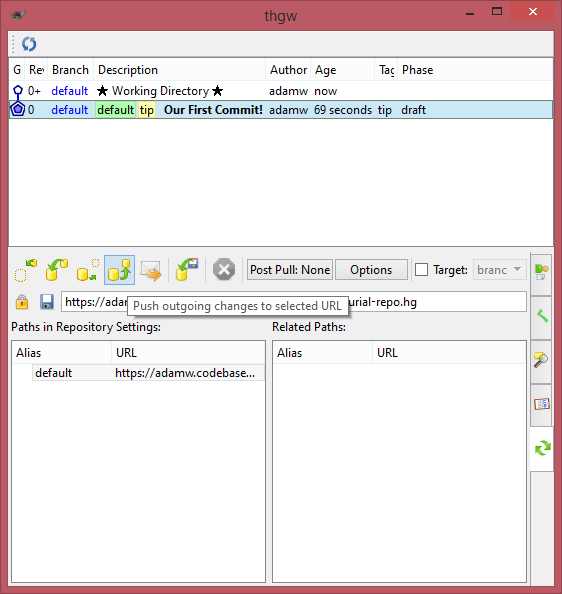
Click yes to confirm the push, and enter the username and password for your Codebase account in the following popup windows. A confirmation will pop up briefly in the sync window show the push was successful. Now we can close this down, and go to our Codebase repository to see the changes.

Summary
So we now know how to install and set up a project and repository using Mercurial, and push our commits to the remote repository in Codebase. If you want to read more about using Mercurial, see this comprehensive guide to using Mercurial. Additionally, for more information on using TortoiseHg, you can see their full guide here.
